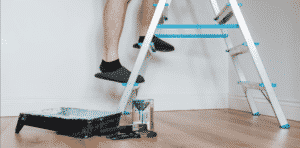
Renovating your bathroom can be a fun way to bring a new, refreshed look to your home. But those tricky tiles might make you hesitate.
The old method of ripping them out and replacing them is not only time-consuming, but it’s also expensive. If you’re looking for a cheaper and easier alternative, you might be wondering: Can I paint over my bathroom tiles?
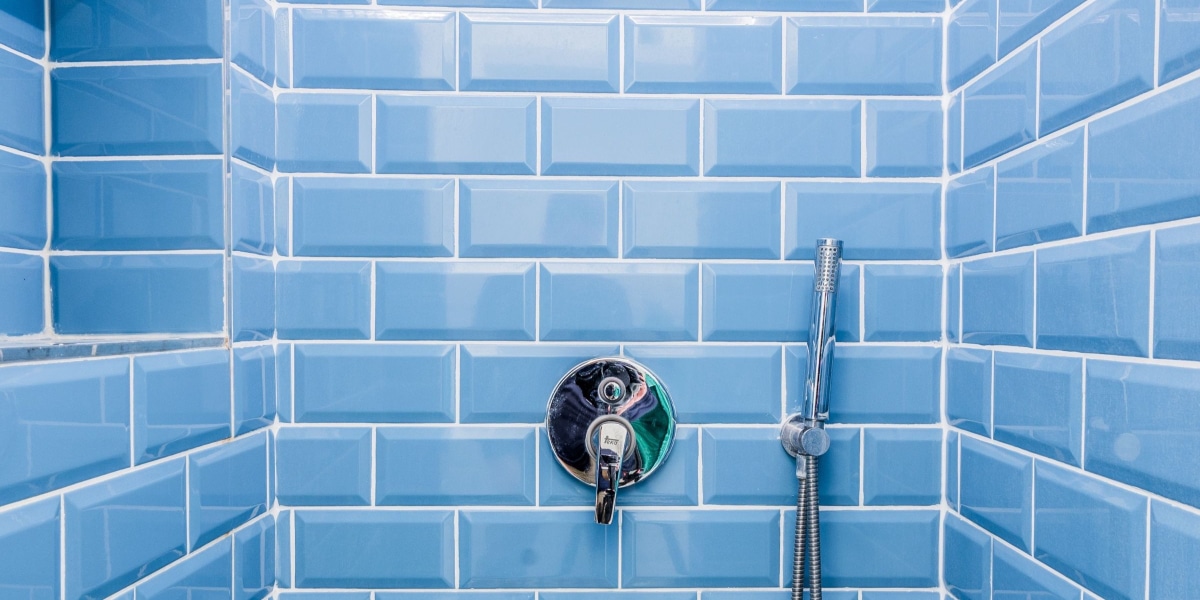
The answer is yes, but there are certain precautions you must take in order to make sure the paint sticks and stands the test of time.
Follow these steps to correctly paint your bathroom tiles!
How to Paint Bathroom Tile
Step 1: Make Any Necessary Repairs
Do not paint over any cracked, crumbling, or missing tiles. These imperfections will definitely show through the new paint and keep your bathroom looking outdated. Instead, start with the repair work.
Peeling or missing chunks of grout should also be fixed before you begin.
Step 2: Do a Deep Cleaning
After all is repaired, perform a deep, thorough cleaning with an abrasive cleaner. Pay special attention to areas prone to soap scum, toothpaste stains, and other gross build-up.
Between the tiles is another area that deserves a special scrubbing.
Step 3: Sand It Down
Next, you will need to sand down the top layer of the tiles. This will create a slightly rough surface that will help the paint stick better.
A block of 180-grit sandpaper should do the trick. Remember, you’re only trying to remove the top layer of gloss. Do not press too hard, or else you risk scratching and damaging the tile. A handheld or orbital sander can make the job go a lot faster.
Keep in mind the only kind of tiles that cannot be painted over are glazed quarry tiles. Even after sanding, paint does not easily adhere to this material, so make sure you’re not wasting time before you begin.
Step 4: Find the Right Paint
Choosing the right paint for your specific tiles is crucial to the longevity of your project.
If you are painting ceramic, porcelain, or unglazed quarry tile, you can use either latex or epoxy paint. These colors come in one-part (pre-mixed) or two-part (ready-to-mix) varieties, and either will work just fine.
For areas prone to heavy moisture, such as backsplashes, vanity countertops, shower surfaces, and tub surrounds, epoxy paint will be the best choice. This will prevent premature fading and peeling caused by water.
Epoxy is also the best option for vinyl or laminate tile, which is typically used for floors.
For natural stone, stucco, or unglazed quarry tile, you will need masonry primer and interior acrylic latex paint. Finally, glass tiles require basic acrylic paint.
You also need to consider the shine of the tile. The higher the glaze, the more slippery the surface will be. This is important for areas in and around the shower, which are already prone to slips and falls.
Step 5: Prime the Tile
Clean out the sanded particles and prep the area. Use tarps if you don’t plan to paint the floor, and adhere painter’s tape around any molding or hardware features.
Then, do a basic primer layer of the tiles you want to paint. Wait for it to dry, and go over any highly discolored areas twice.
Step 6: Paint!
Once the area is primed and prepped, you’re ready to paint!
Use a roller brush for large sections of tiles, and be careful the layer is as even as possible. Be especially aware of paint building up in the grooves between the tiles. Smooth out these goopy areas with a small handheld brush.
For tiles that were originally dark, you may need two or even three layers of the new paint. Wait for all the paint to dry before you do the next layer.
Step 7: Touch-ups & Final Decorations
Next, go over any areas you missed or made a mistake on. For tight corners, use a handheld brush and try to get the final layer as smooth and even as possible.
If you’re planning on painting a design or pattern on the tile, now is the time to do it. This creative addition is the perfect way to add a personalized touch to your bathroom, but it’s totally optional.
Step 8: Seal
Finally, you want to seal the tile to make sure it lasts a long time. This step will also protect the newly painted tiles from scuffs, scratches, and grime.
Use a clear sealer that’s right for the tile surface. Urethane sealer is best for ceramic or porcelain tiles, while masonry sealer will be needed for natural stone or unglazed quarry tile.
Clean up your prep work, and voila! You have a brand new bathroom tile without the cost and hassle of replacing it.
Professional Residential Painting in Metro Detroit
Here at Armor Tough Coatings, we understand that painting a bathroom is not the ideal way to spend your weekend. That’s why we offer professional interior painting services for every room!
Since 2014, we have built a reputation in metro Detroit as a locally owned business dedicated to high-quality craftsmanship and friendly customer service. Call now to learn more!